Chocolate Easter Eggs
by Daniela, The Real Foodie
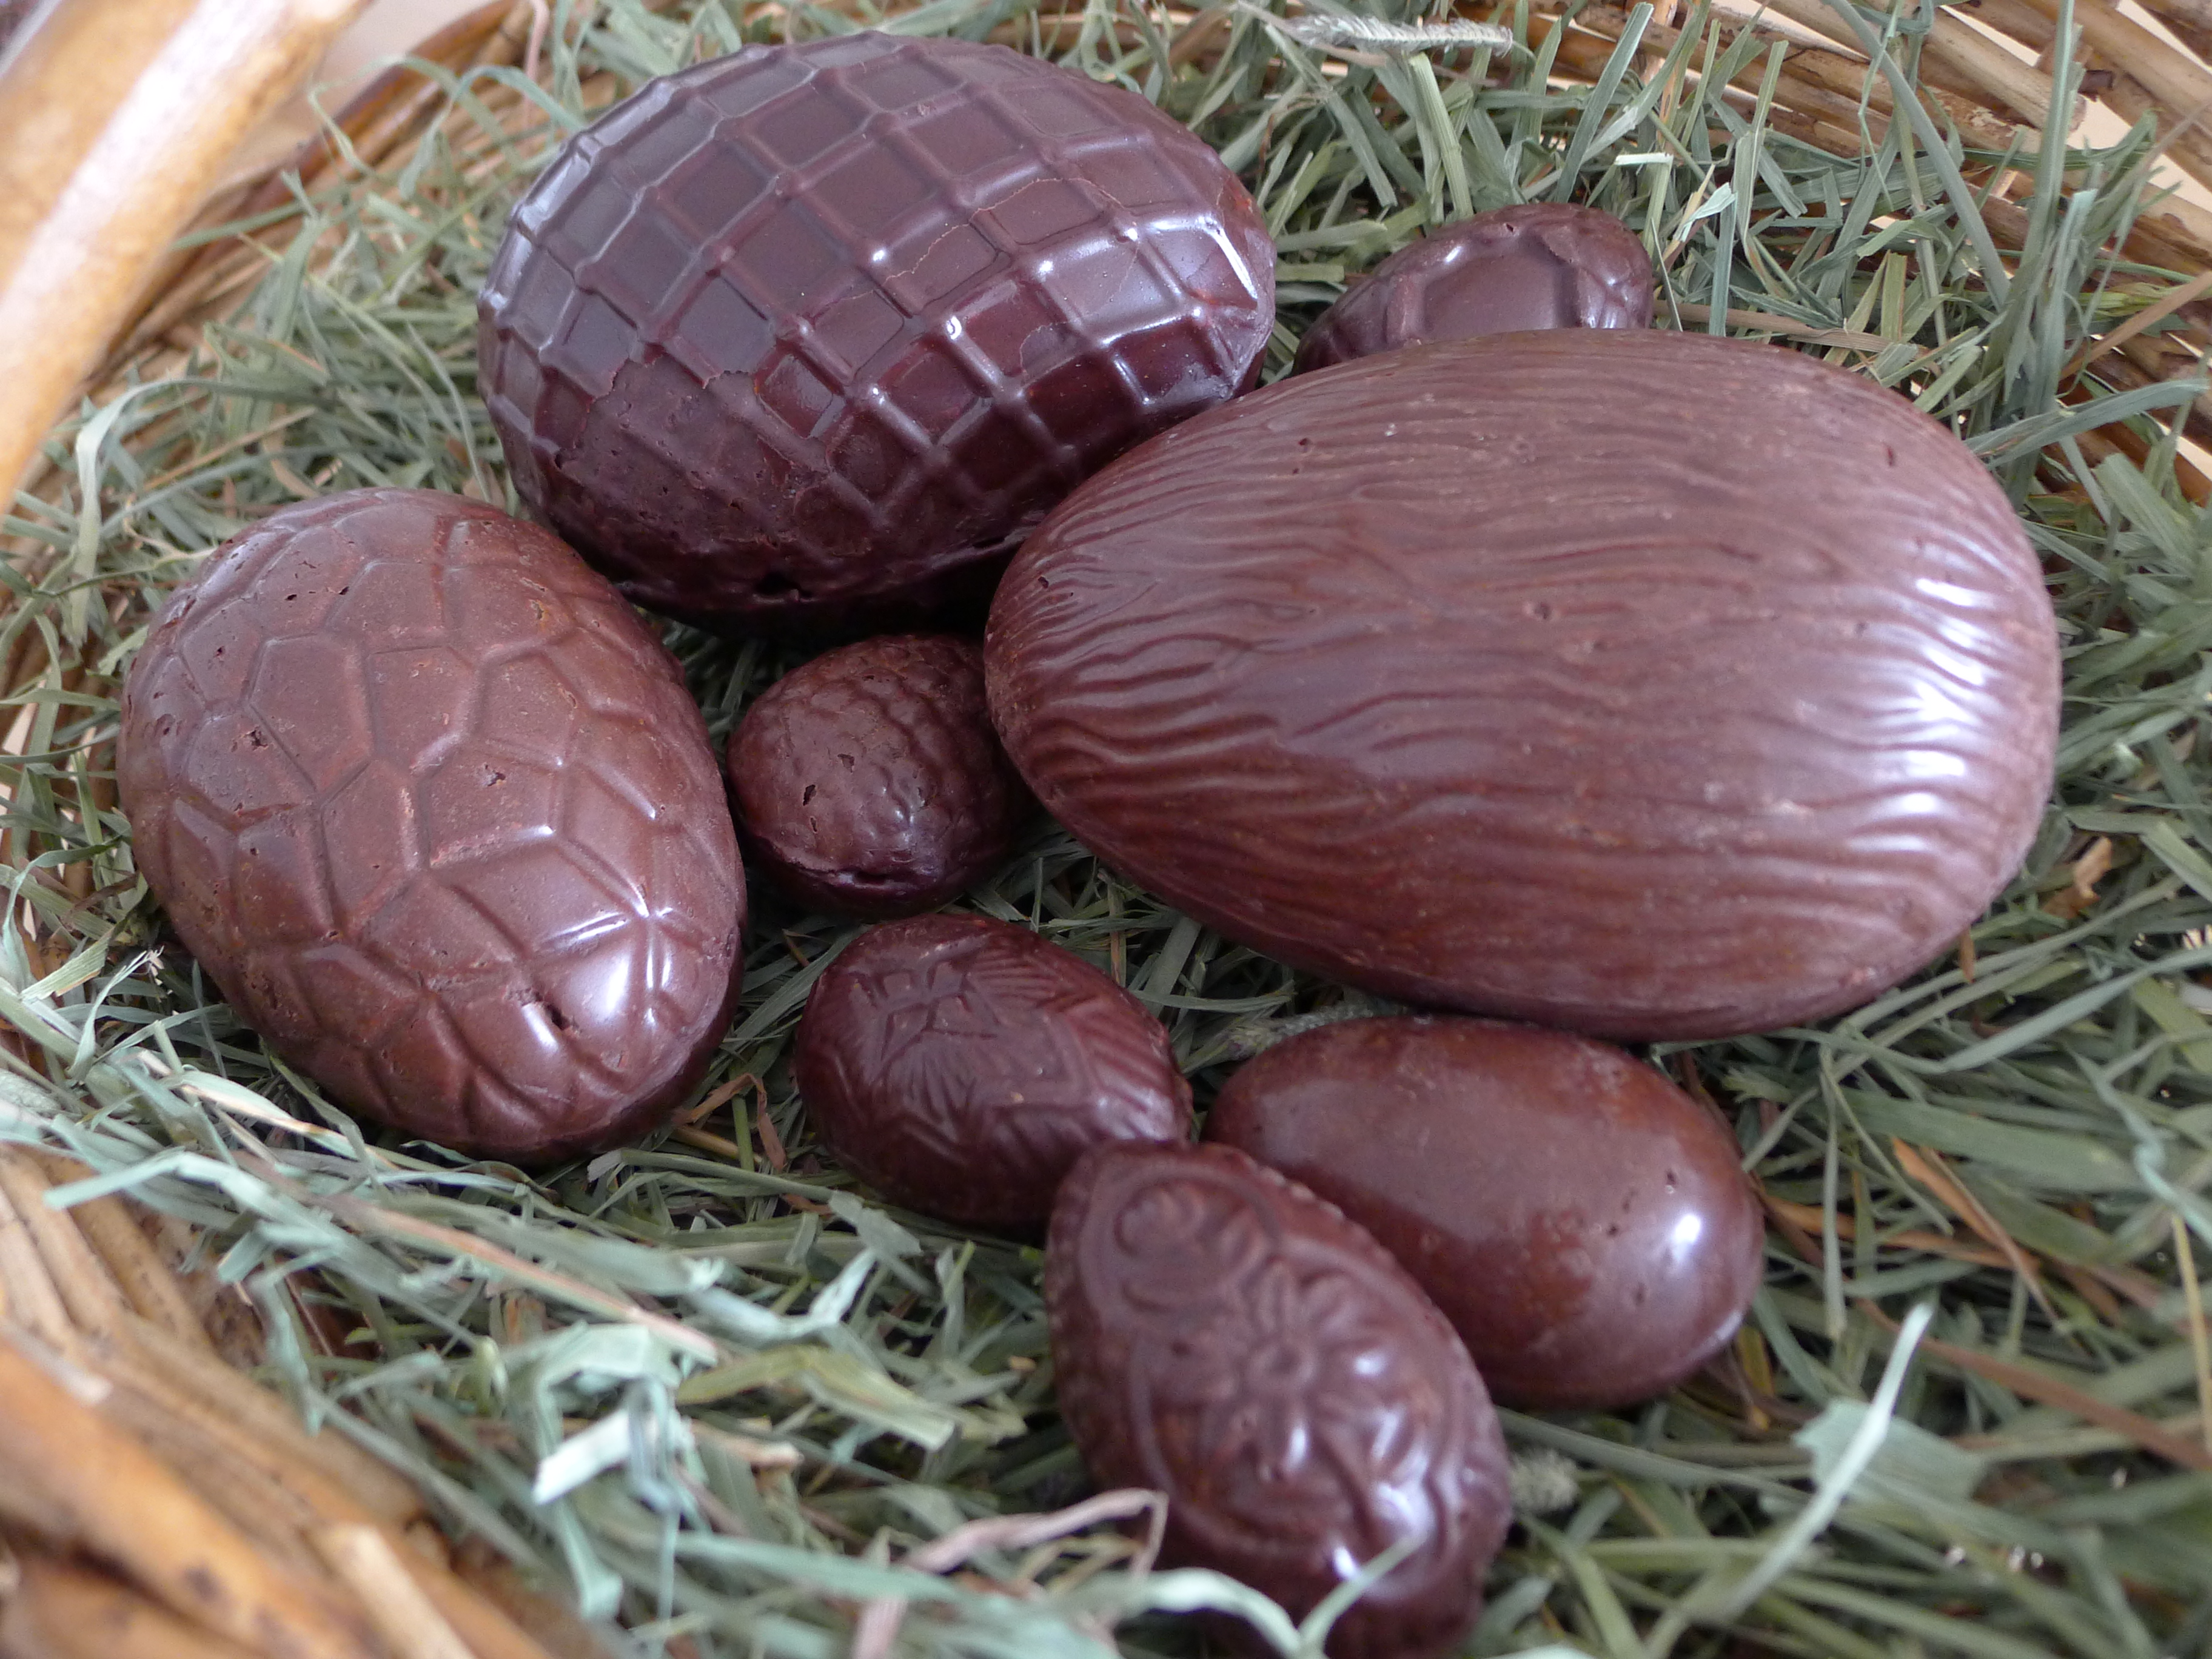
I have always loved holiday traditions as a means to be creative, decorate and learn about the way different cultures celebrate. Easter was one of my favourite holidays as a child. My father would organise elaborate Easter egg hunts for us in the garden and I would always dye and paint Easter eggs. A child at heart, I am thrilled now that I have my own daughter to be able to re-live the dreams of my childhood with her. This was the first Easter in which Olivia was old enough to interact so I made the most of it and got creative, making many different types of Easter eggs. I bought Amish pastured blue Araucana eggs from BM Organics to decorate with (and then eat!); I blew out conventional white eggs to dye with vegetable dye and let Olivia paint them with watercolours; I made papier mache eggs and filled them with soaked cashew nuts and a toy mouse; and I made chocolate Easter eggs using egg moulds.
I wanted Olivia to be able to enjoy eating her first chocolate Easter egg without my worrying about the sugar and additives usually found in store bought chocolate eggs (such as GMO soy lecithin), so I found and modified a recipe for chocolate sweetened with honey from the blog Our Nourishing Roots:
Handmade Chocolate
3/4 cup organic cocoa butter
3/4 cup organic cocoa powder
6 tablespoons raw organic honey
scraped seeds from 1 vanilla bean
1 teaspoon organic vanilla extract
In a glass bowl set over simmering water, melt cocoa butter completely. Turn the heat off and using a whisk, add cocoa powder gradually and incorporate completely until there are no lumps. Add honey, vanilla seeds from scraped vanilla bean and vanilla extract; whisk until smooth. Let cool, stirring every 10 minutes.
I learned through trial and error that the brand of cocoa butter is very important for the taste. I wrote to Kendahl from Our Nourishing Roots to ask her for the brand she recommended, as the link on her site wasn’t working at the time and she recommended this one.
The recipe says it should take no longer than 30 minutes to cool before pouring into moulds but I found although it cooled quickly, I wasn’t able to make hollow eggs until it was starting to solidify because the chocolate wouldn’t form a layer to the mould if it was too liquid; it would just run off the sides collecting at the bottom. I had to put the bowl of chocolate in the refrigerator to speed up the cooling and just as the edges were hardening, I took it out. Using a paint brush and my fingers I would form a 1/4″ layer of chocolate around the mould to make sure the egg would be hollow but solid enough to stay strong. There was a narrow time frame between too liquid and too solid because if it was too solid, the chocolate would form pockets of air in the designs of the mould. I left some extra chocolate in the bowl to use for sticking the mould halves together. I put the moulds with the chocolate in the refrigerator and once they cooled, pressed them out gently. I melted the remaining chocolate in the bowl over boiling water and using a paint brush, painted the liquid chocolate along the edge of each egg half and stuck them together. You can buy foil candy wrappers online to wrap them with but I didn’t think about this in advance, so I cut squares out of plastic food bags (which is not ideal as I am against plastic and haven’t used a plastic food bag or plastic wrap in many years; but this was an exception) and wrapped each egg in the plastic, gathering the bag at the top and tying it with ribbon, to hide in the garden for Olivia and her cousin Kayden’s Easter egg hunt. Another idea would be to fill the hollow eggs with a small treat such as a nut or a toy or make a cream filling like my old junk food favourite, Cadbury’s Creme egg.
I wasn’t sure how Olivia would react to her first taste of chocolate but the eggs were a huge success! I have never seen her devour something so fast, shoving the entire egg in her mouth at once and barely tasting it before asking for ‘mo’!

I tried one and I can vouch that it was heavenly! I love the organic honey in the chocolate instead of sugar. It gave it a much smoother taste. You’d think more chocolate makers would do that? It really tasted much better than sugar. Post a photo of Olivia eating the chocolate…it was hilarious!