The Real Foodie

Category: Recipes

Young Coconut Smoothie

Image

At around the same time as I read the Body Ecology Diet in 2007, where I learned about making fermented coconut pudding (by blending coconut meat with coconut water and adding a culture), I was introduced to blended coconut water and coconut meat smoothies by Melvin, the legendary juice man who used to work at my local health food store in New York City, Lifethyme Market and has now gone on to open two of his own juice bars. Melvin also introduced me to the idea of adding greens to the coconut, such as kale, chard and collard greens, so I would get my greens and healthy fat (to absorb the vitamins), all in one. It also tasted divine.

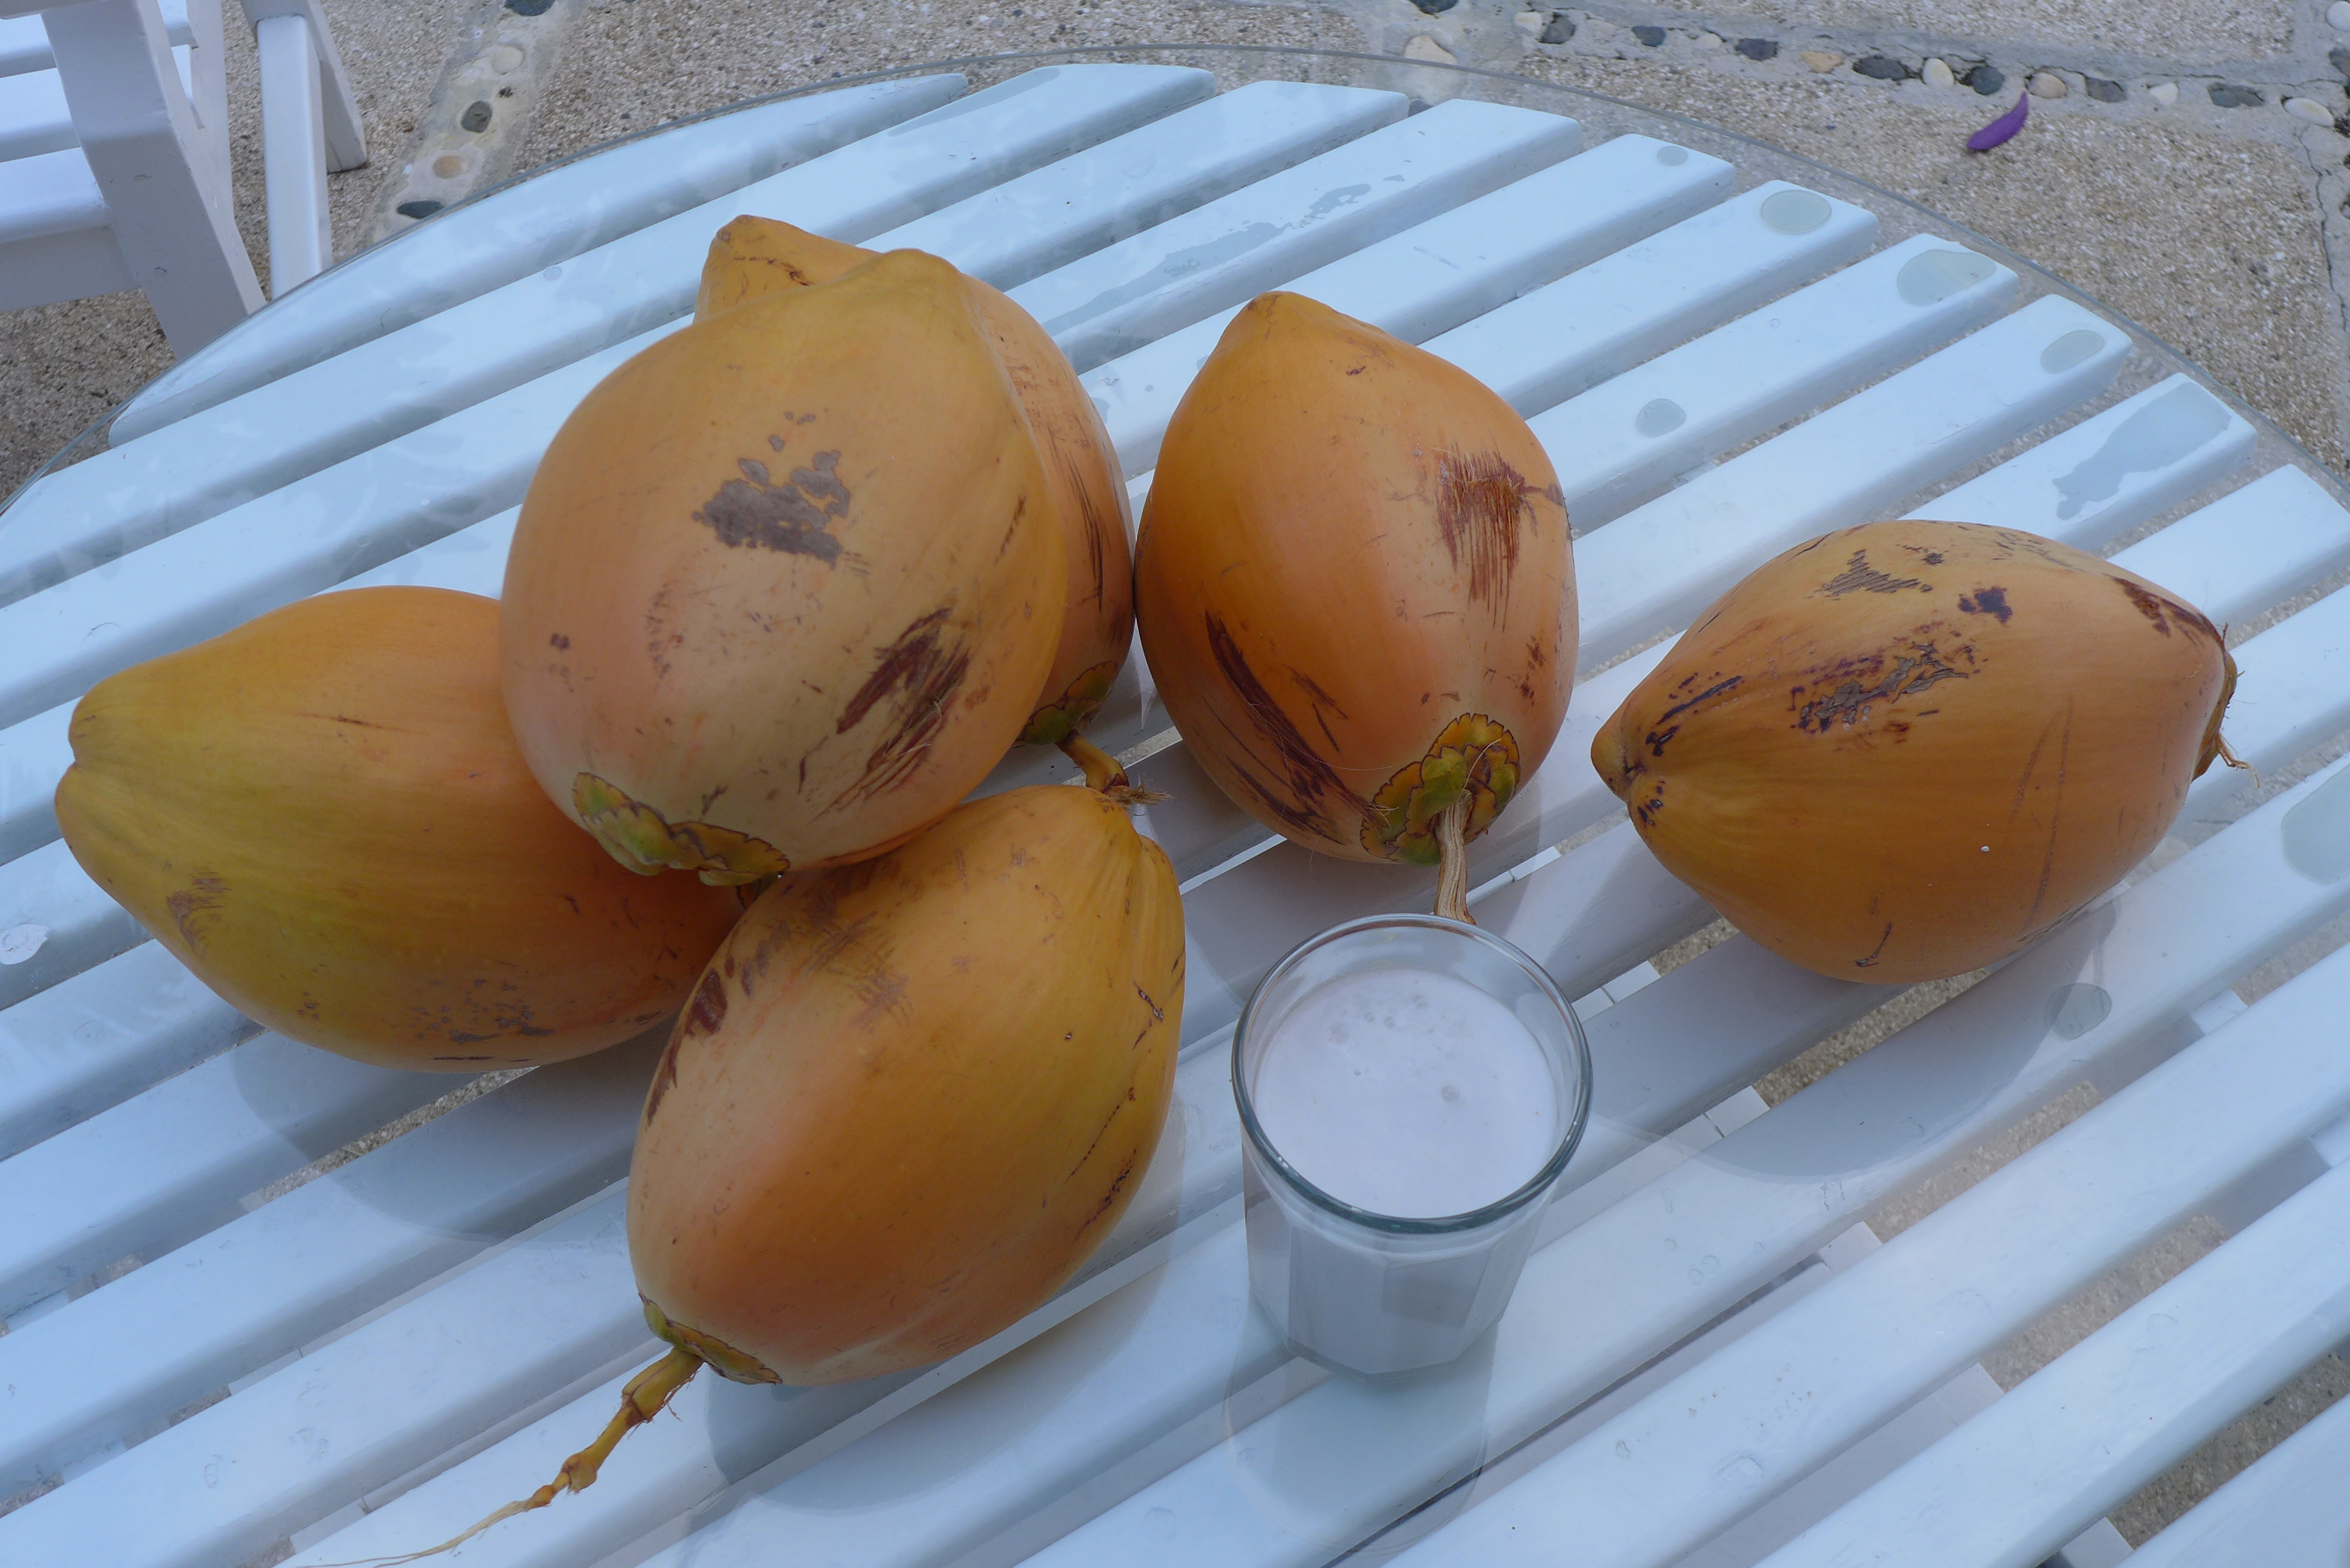
Ever since then, young coconut smoothies, either pure or mixed with greens, have been a part of my regular health routine. When I started weaning my daughter, puréed coconut meat was one of the first foods I gave her and she loved it. Sometimes I buy my own coconuts and make smoothies at home, or if I am in a rush I will buy a smoothie at one of my local juice bars. Now that I live in Miami where coconuts grow (!) I buy coconuts from my guys, Kokonut Kreationz at Glaser Farmers’ Market, or I will buy a coconut smoothie from Jugo Fresh. When I am in Jamaica, a local man named Lindsay delivers coconuts to us (the gorgeous yellow dwarf variety coconuts pictured above) or I get them delivered from Pantrepant Farm or buy them at a roadside fruit stall. In New York I go to Juice Press or Organic Avenue where they make and bottle coconut smoothies and call it ‘coconut milk’. Wherever I am, I’m never without my coconut smoothie.

How to make young coconut smoothie:

Select a fresh young coconut. If you don’t live in a tropical climate where coconuts grow, you can buy 100 percent certified organic packaged young Thai coconut meat and bottled water from Exotic Superfoods. Though not as fresh, they are the only certified organic young coconut meat source in the U.S and Thai coconuts are more flavourful. Do not buy the Thai coconuts you find in health food stores which have the husk shaved down to a white cone shape as they are sprayed with fungicide, dipped in preservatives and are up to 2 months old. They are far from fresh or nutritious.

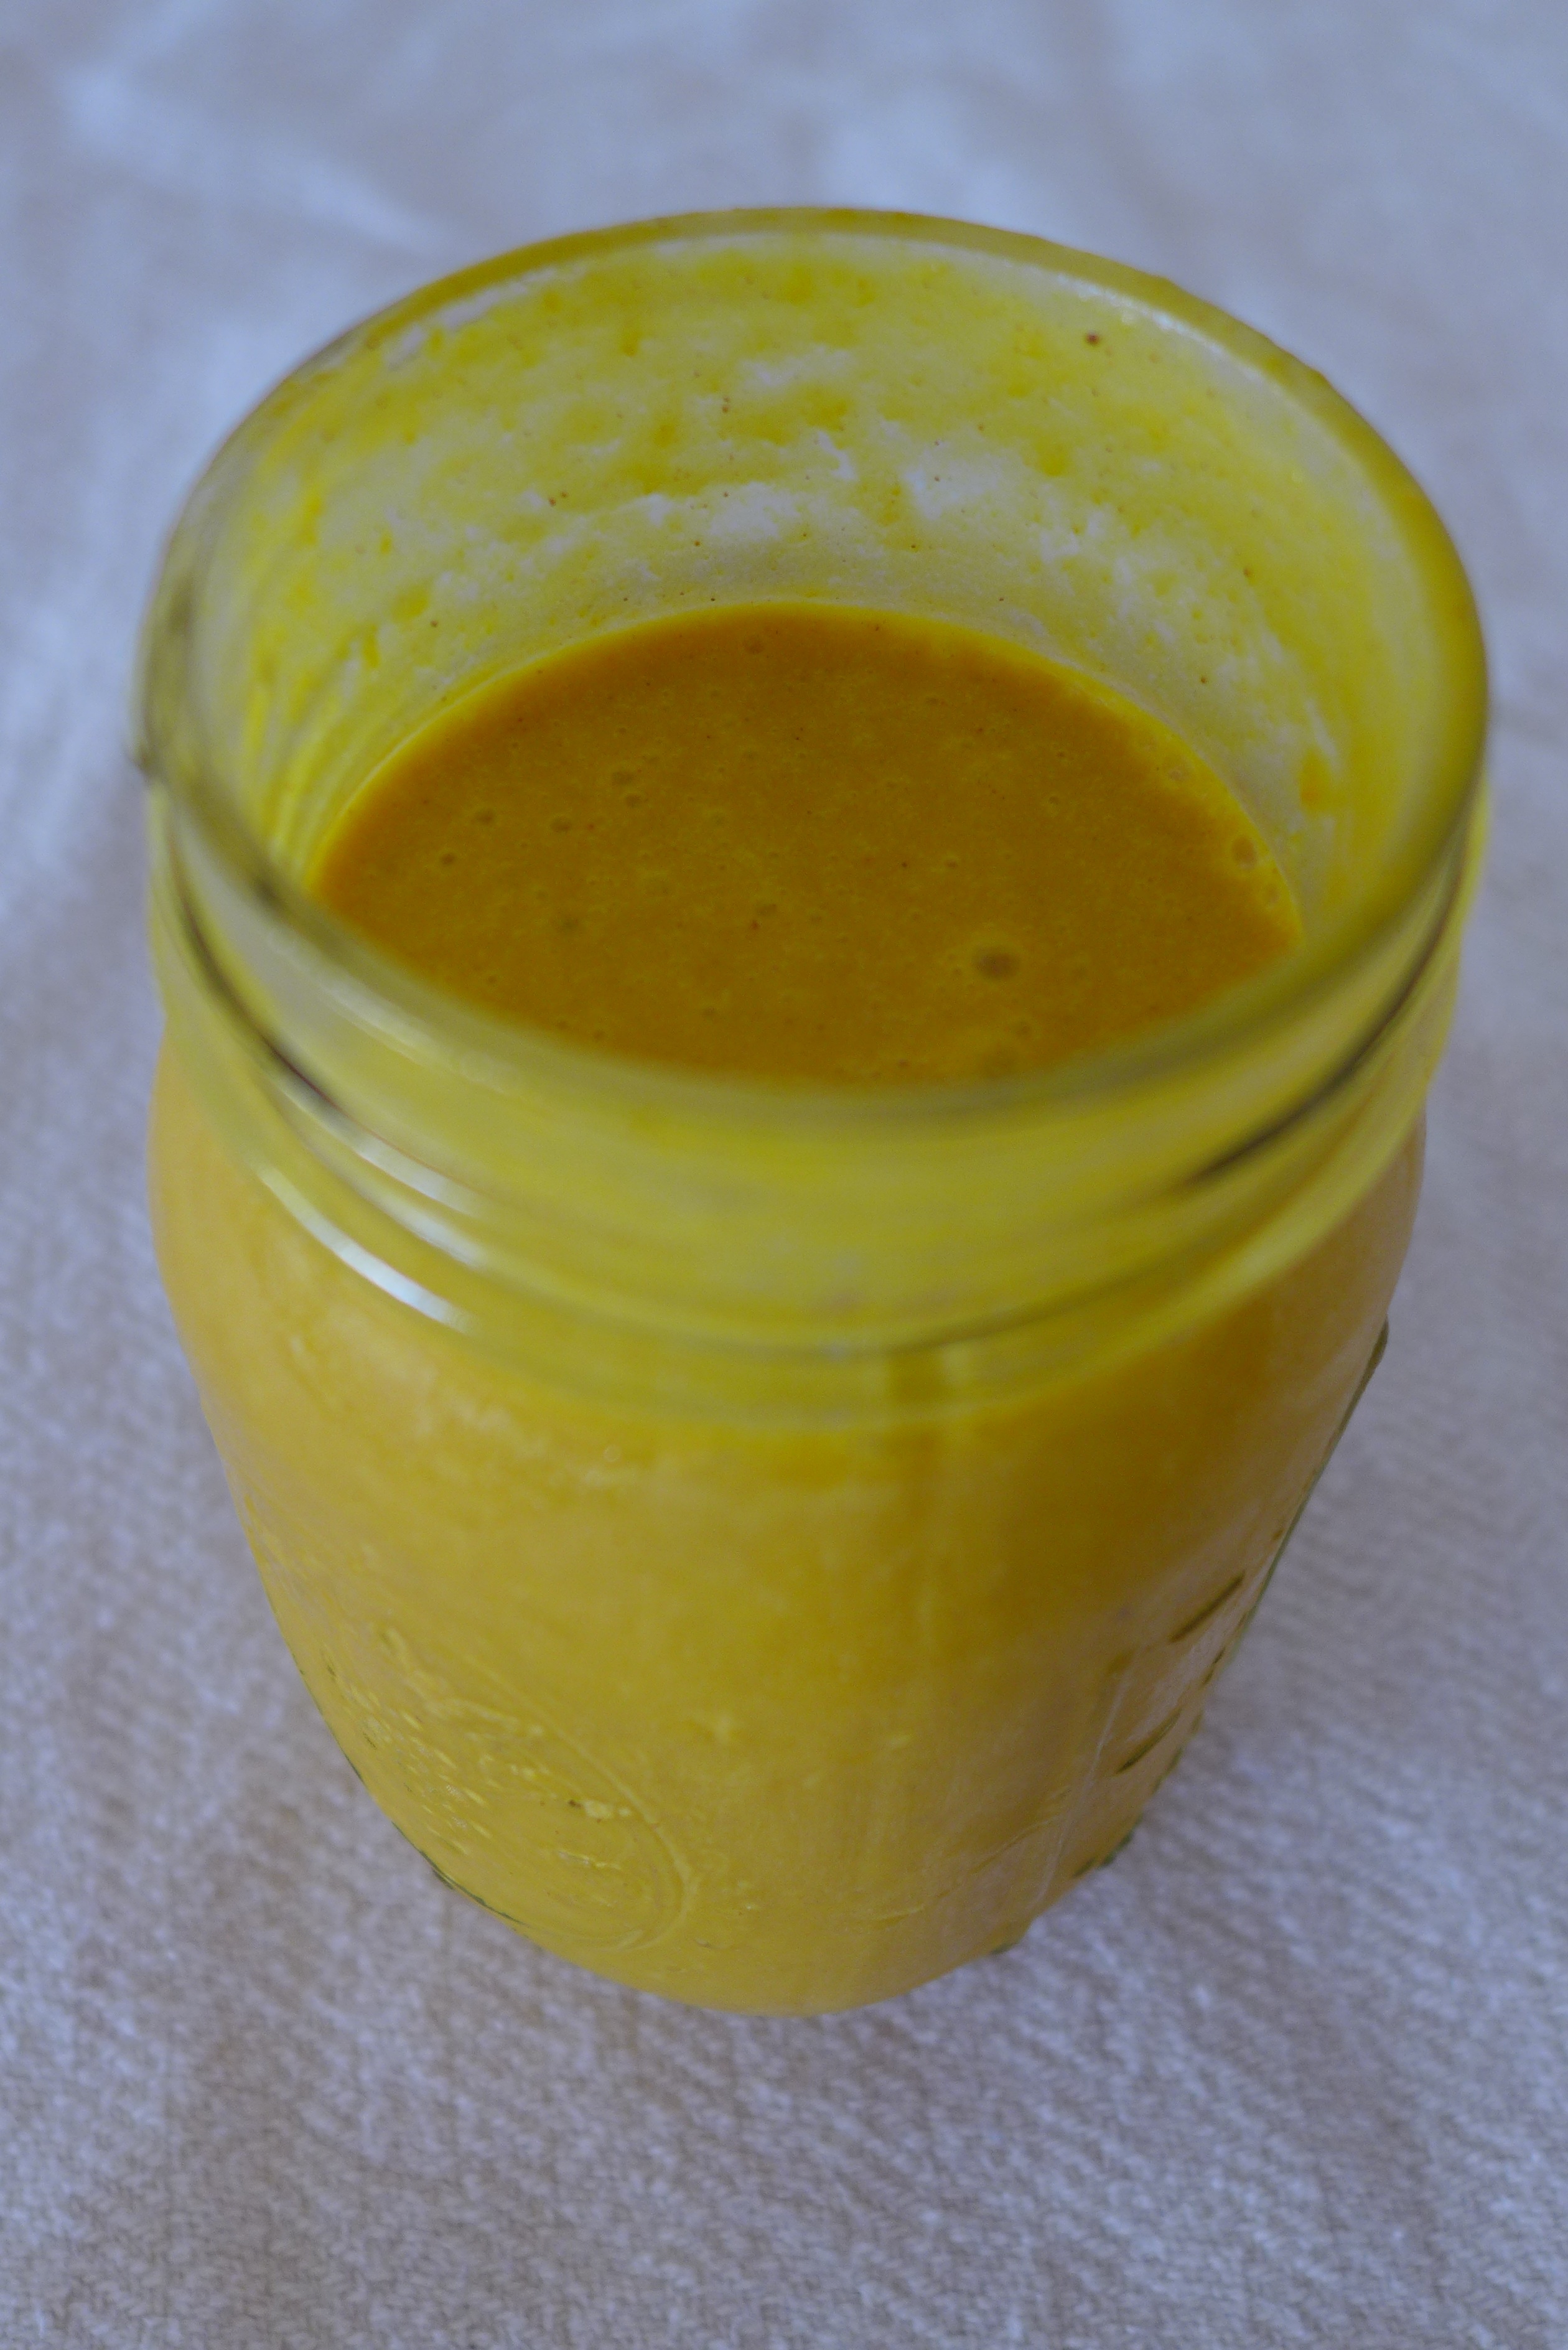
Chip the top away, turning the coconut to cut all around the top, using a cleaver or machete until you make a small  hole through the hard inner shell. Pour the water into a blender. Slice the coconut in half and scoop out the soft meat with a spoon. Put the meat in a blender and blend the meat and the water until it forms a smooth consistency.

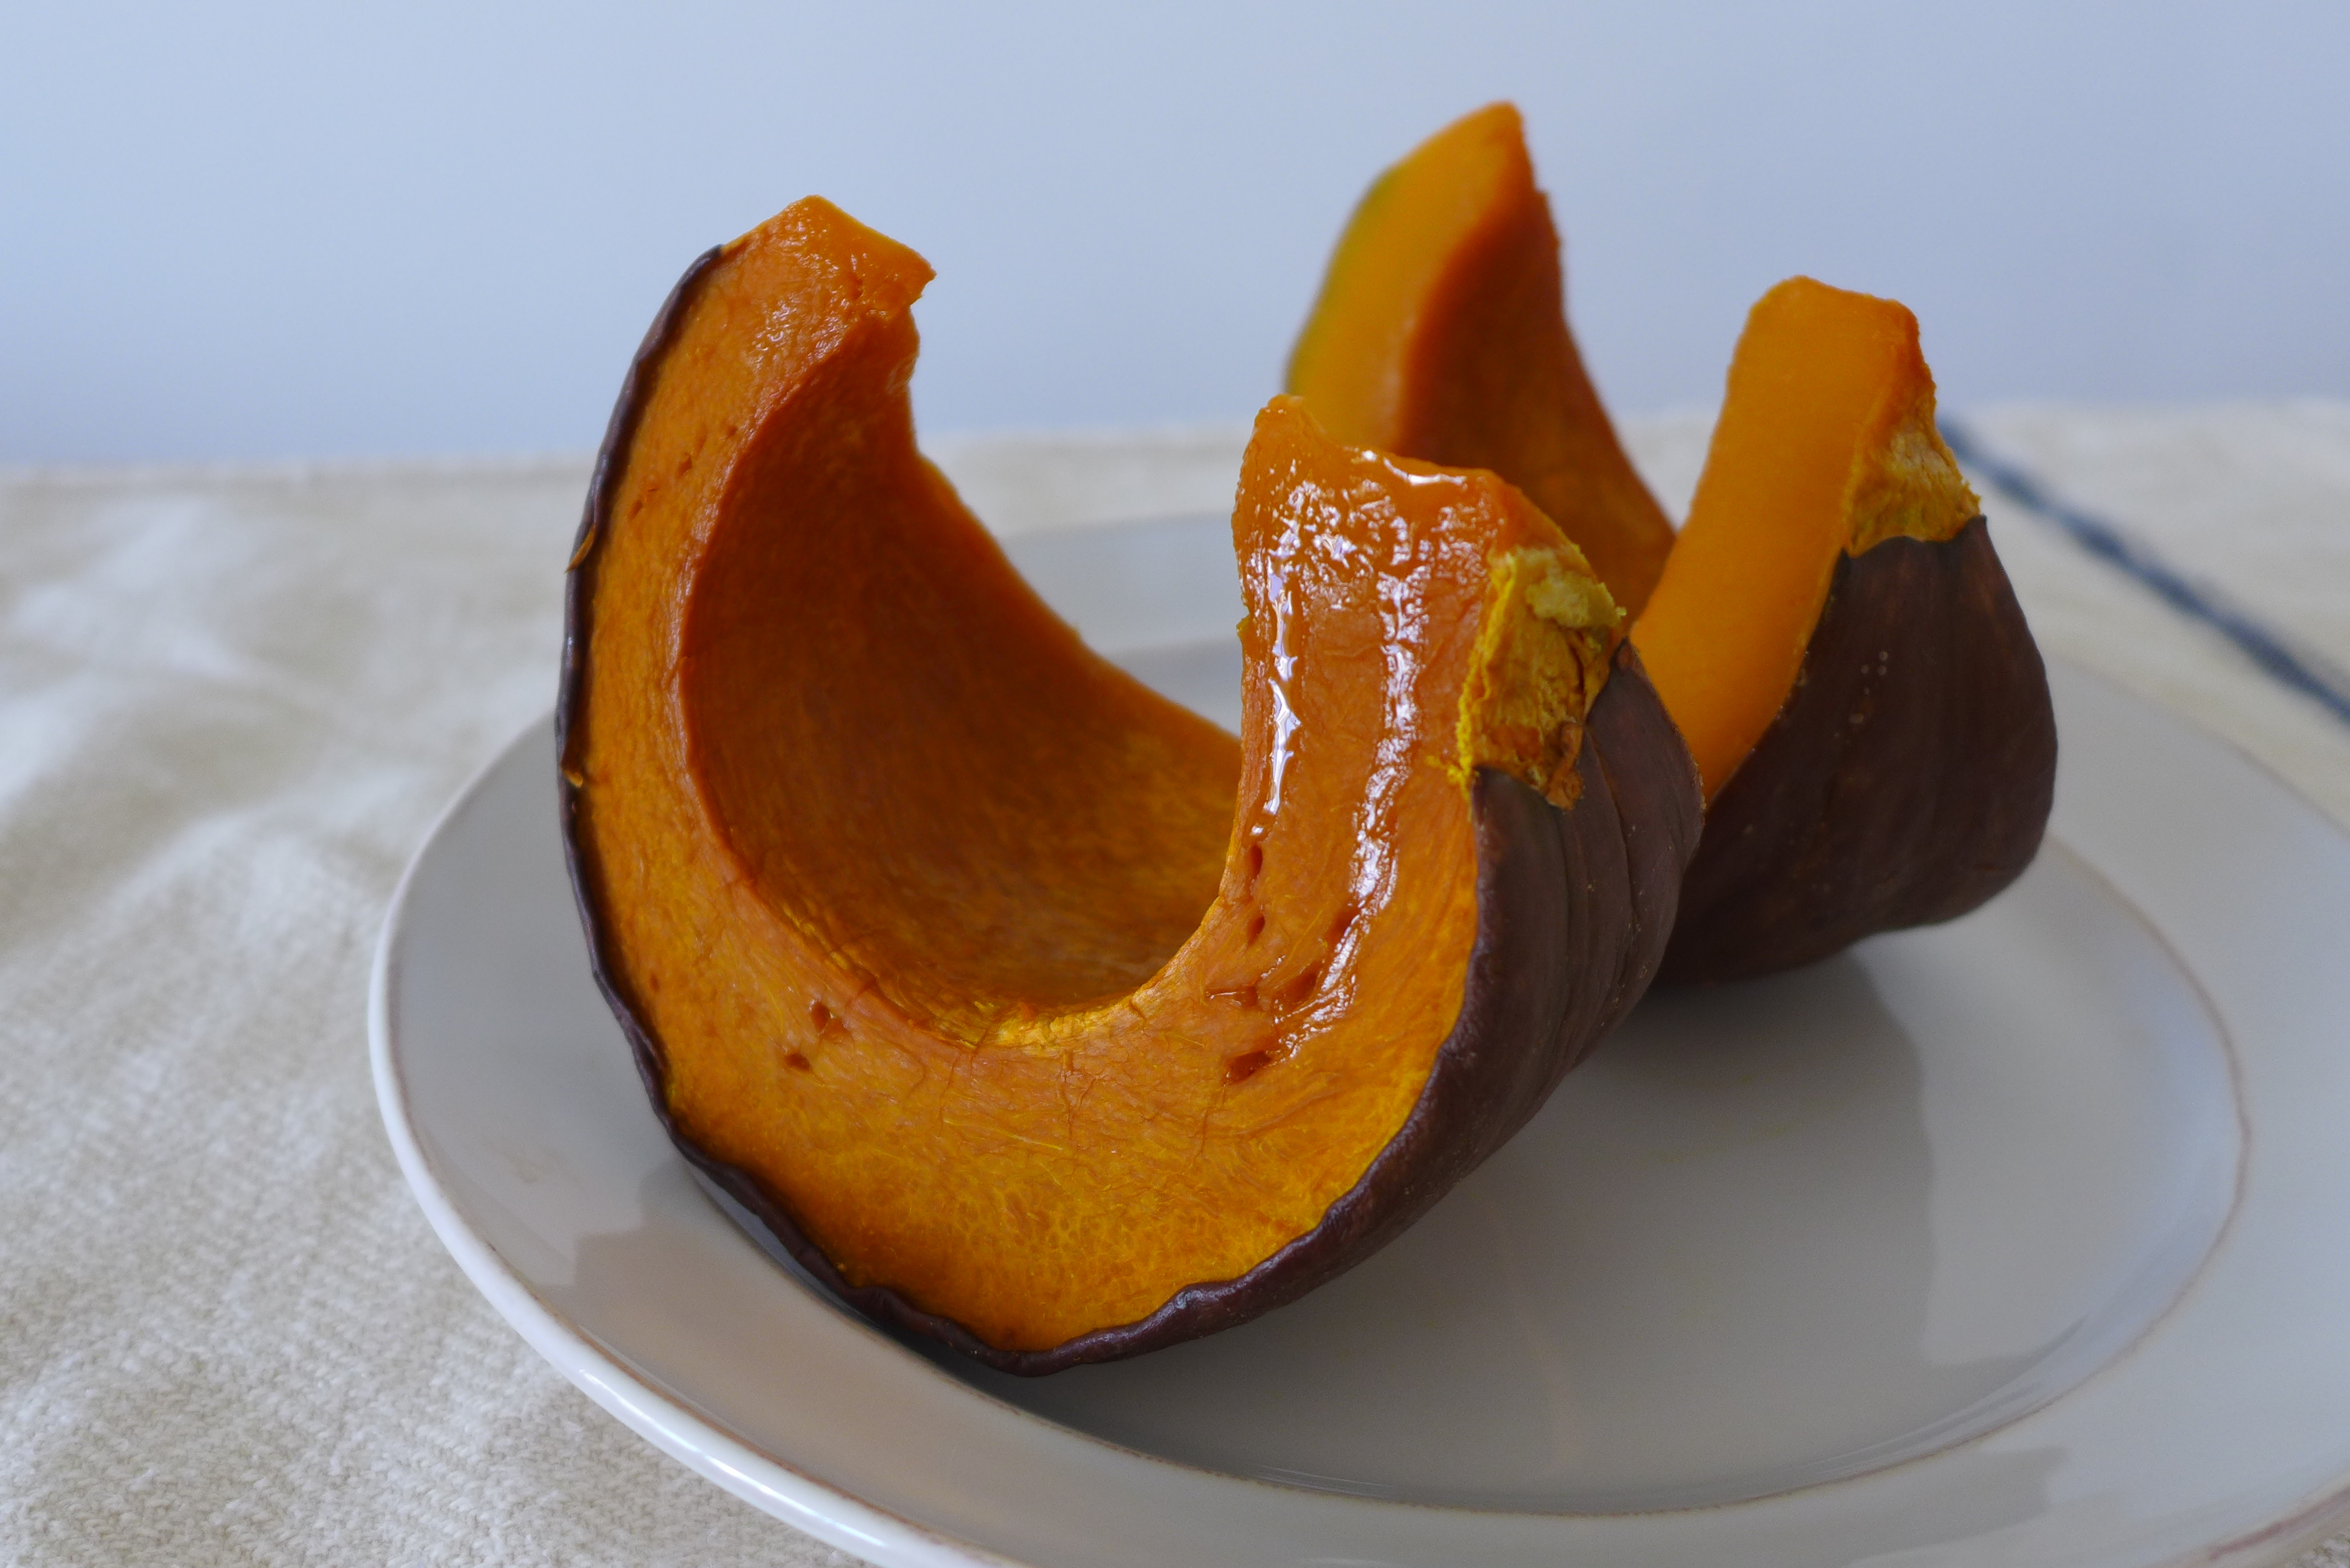
Note: There is a difference between young and mature coconuts. The young ones are green or yellow, they contain a lot of water and the meat is soft and able to easily be scooped out with a spoon. The mature ones are brown and dry, have little water and the meat is hard and difficult to remove. It needs to be cut out with a special curved knife. The mature coconut meat produces a rich oily cream called coconut milk by grating the meat and squeezing out the cream with a cheese cloth. There are two juice bars in Miami that use mature coconuts to make milk: Milk Gone Nuts and Athens Juice Bar.

Grain Free Gingerbread Cookies

P1360599

To get in the Christmas spirit this year, I made gingerbread cookies with my daughter, using  mini holiday cookie cutters. Here is a healthier and more digestible version of gingerbread cookies using homemade nut flour instead of refined wheat flour. I adapted this recipe from The Healthy Home Economist blog which was adapted from the Nourishing Traditions cookbook. It is important to find truly raw Italian organic almonds because most U.S. almonds, even those labeled as raw are either steam treated or sprayed with carcinogenic propylene oxide. It is also important to make your own almond flour, as store bought almond flour has already lost most of its nutrients from being on the shelf for so long and it hasn’t been soaked or sprouted to eliminate the phytic acid, which causes digestive problems and blocks mineral absorption. I always had a hard time digesting store bought almond flour and didn’t like the taste, until I started making my own flour from soaked and dehydrated almonds. The taste of homemade almond flour doesn’t compare.

Ingredients:

1 1/2 cups raw organic Italian almonds

1/2 cup pastured organic butter, melted

1 cup arrowroot powder

1 pastured organic egg

1/2 cup Sucanat or Organic Whole Cane Sugar

1 1/2 tsp ground organic ginger

1 tsp ground organic cinnamon

1/4 tsp ground organic nutmeg

1/4 tsp ground organic cloves

1/2 tsp Himalayan pink salt

Preparation:

Soak the almonds in a bowl of salted, filtered water for 18 hours, then spread them out on a baking tray and put them in the oven set at warm for several hours (this varies depending on the oven) until they are crispy, or dry them in a dehydrator.

Set the oven to 300F degrees. Grind prepared almonds in a food processor or blender until they are ground into almond flour.  It is not necessary for the almond flour to be extremely finely ground as a more coarse texture turns out fine when mixed with the arrowroot powder. Mix in remaining ingredients. Roll the dough into balls and place on a cookie sheet lined with unbleached parchment paper. Press the balls till they are 1/4″ thick and cut out shapes using cookie cutters. Bake at 300F for 15 minutes.

Pumpkin Smoothie

P1270515

I improvised this recipe, originally with some leftover barbecued sweet potatoes. This time I tried it with pumpkin and it turned out deliciously, like pumpkin pie, perfect for the season. It is very nutritious and a great snack. It can also be done with winter squash.

Ingredients

1 cup raw pastured milk

½ cup of raw pastured light cream

1 raw pastured egg yolk

½ tsp cinnamon

¼ tsp nutmeg

¼ tsp cloves

sweetener of choice: raw honey, vegetable glycerine, maple syrup or stevia

P1270521

Mix together in a blender and drink!

This post is linked to: Fight Back Friday November 1st, Real Food Wednesday 10/30/2013

Chocolate Easter Eggs

P1190416

I have always loved holiday traditions as a means to be creative, decorate and learn about the way different cultures celebrate. Easter was one of my favourite holidays as a child. My father would organise elaborate Easter egg hunts for us in the garden and I would always dye and paint Easter eggs. A child at heart, I am thrilled now that I have my own daughter to be able to re-live the dreams of my childhood with her. This was the first Easter in which Olivia was old enough to interact so I made the most of it and got creative, making many different types of Easter eggs. I bought Amish pastured blue Araucana eggs from BM Organics to decorate with (and then eat!); I blew out conventional white eggs to dye with vegetable dye and let Olivia paint them with watercolours; I made papier mache eggs and filled them with soaked cashew nuts and a toy mouse; and I made chocolate Easter eggs using egg moulds.

I wanted Olivia to be able to enjoy eating her first chocolate Easter egg without my worrying about the sugar and additives usually found in store bought chocolate eggs (such as GMO soy lecithin), so I found and modified a recipe for chocolate sweetened with honey from the blog Our Nourishing Roots:

Handmade Chocolate

3/4 cup organic cocoa butter
3/4 cup organic cocoa powder
6 tablespoons raw organic honey
scraped seeds from 1 vanilla bean
1 teaspoon organic vanilla extract

In a glass bowl set over simmering water, melt cocoa butter completely. Turn the heat off and using a whisk, add cocoa powder gradually and incorporate completely until there are no lumps. Add honey, vanilla seeds from scraped vanilla bean and vanilla extract; whisk until smooth. Let cool, stirring every 10 minutes.

I learned through trial and error that the brand of cocoa butter is very important for the taste. I wrote to Kendahl from Our Nourishing Roots to ask her for the brand she recommended, as the link on her site wasn’t working at the time and she recommended this one.

The recipe says it should take no longer than 30 minutes to cool before pouring into moulds but I found although it cooled quickly, I wasn’t able to make hollow eggs until it was starting to solidify because the chocolate wouldn’t form a layer to the mould if it was too liquid; it would just run off the sides collecting at the bottom. I had to put the bowl of chocolate in the refrigerator to speed up the cooling and just as the edges were hardening, I took it out. Using a paint brush and my fingers I would form a 1/4″ layer of chocolate around the mould to make sure the egg would be hollow but solid enough to stay strong. There was a narrow time frame between too liquid and too solid because if it was too solid, the chocolate would form pockets of air in the designs of the mould. I left some extra chocolate in the bowl to use for sticking the mould halves together. I put the moulds with the chocolate in the refrigerator and once they cooled, pressed them out gently. I melted the remaining chocolate in the bowl over boiling water and using a paint brush, painted the liquid chocolate along the edge of each egg half and stuck them together. You can buy foil candy wrappers online to wrap them with but I didn’t think about this in advance, so I cut squares out of plastic food bags (which is not ideal as I am against plastic and haven’t used a plastic food bag or plastic wrap in many years; but this was an exception) and wrapped each egg in the plastic, gathering the bag at the top and tying it with ribbon, to hide in the garden for Olivia and her cousin Kayden’s Easter egg hunt. Another idea would be to fill the hollow eggs with a small treat such as a nut or a toy or make a cream filling like my old junk food favourite, Cadbury’s Creme egg.

I wasn’t sure how Olivia would react to her first taste of chocolate but the eggs were a huge success! I have never seen her devour something so fast, shoving the entire egg in her mouth at once and barely tasting it before asking for ‘mo’!

Valentine’s Pizza

pizza

My husband was away on a business trip for Valentine’s day so it was just Olivia and me celebrating together this year. We went to the park and then for a walk on the beach and when we came home we made heart shaped pizzas. Olivia helped me mix the dough and pick the fresh herbs. I set the table with straw woven place mats and red striped cloth napkins and we had our romantic Valentine’s dinner together in candlelight listening to classical music. I couldn’t have asked for a better Valentines day!

Valentine’s Pizza Recipe 

The recipe is adapted from Super Nutrition for babies by Katherine Erlich and Kelly Genzlinger. I used a combination of organic sprouted wheat flour for easier digestibility, arrowroot starch and organic coconut flour. To make a grainless version use only coconut flour and arrowroot starch or for a grain only version omit the coconut flour and starch. When using coconut flour instead of wheat flour more liquid may need to be added to the dough. You can also use store bought whole-grain flour but it should be prepared the night before by soaking 2/3 cup flour with 1 tablespoon yoghurt and 1/4 cup water overnight to make it more digestible and nutritious.

1/3 cup organic sprouted wheat flour

2/3 cup organic coconut flour

1/4 cup arrowroot starch

2 tablespoons softened organic pasture butter, plus more for greasing pan

1/2 teaspoon Himalayan pink salt or sea salt

1 organic pastured egg

1/2 cup organic raw pastured yoghurt (or any other type of liquid such as milk or coconut milk)

handful chopped fresh basil

handful chopped fresh oregano

3/4 cup organic tomato sauce (homemade or store bought in glass jar to avoid BPA from lining of cans)

1 cup grated organic raw pastured cheese

Preheat oven to 350ºF (180ºC). Mix the flour, starch, butter, salt, egg, yoghurt and herbs. If using coconut flour add more liquid (yoghurt or milk) to make it the consistency of dough. Grease a baking pan or cookie sheet with butter or use a baking pan lined with unbleached chlorine-free parchment paper. Spread the dough over the pan about 1/4 inch thick and form into the shape of a heart. Bake the dough for 10 – 20 minutes until it is crispy around the edges. Take out of the oven and first spread the tomato sauce and then the cheese over the top or add additional toppings. Bake for 10 to 12 minutes until cheese is melted and golden. If you want to make mini pizzas for kids you can cut out smaller shaped hearts or use a cookie cutter.

Save Your Gravy

Real food is too precious for me to throw away so I make sure I use up everything before it goes bad, rarely letting any go to waste and I make use of leftovers. With leftover rice I use it the next day to fry with an egg yolk for Olivia; and I use leftover oatmeal to make fried mush from the Nourishing Traditions cookbook or my own savory version of fried mush, omitting the maple syrup and adding grated cheese instead. I use the end pieces of a loaf of bread to make breadcrumbs and I cut up leftover roasted chicken to make chicken salad with mayonnaise. Leftover bones become stock and I skim off the fat to use again for frying.

One very precious leftover is gravy. It is a concentrated form of all of the nutrients from the pastured meat and contains a lot of gelatin. After my family Thanksgiving I saved the gravy left in the pan from the White Oak Pastures chicken my mother roasted which she wanted to throw away. Today I sauteed finely chopped potatoes in the gravy and its fat to make deliciously nutritious hash browns. Here’s how:

1. Cut potatoes finely.

2. Using a medium sized sauce pan fry the potatoes uncovered on a medium to high heat in leftover gravy, including the fat, till it boils.

3. Keep boiling uncovered on a medium to high heat until the potatoes are soft and all of the gravy evaporates leaving just the fat.

4. Using a fork to allow the fat to drip off, remove the potatoes from the pan and serve.